
Your cell phone can be useful when documenting equipment failures, repairs, etc. In fact, most readers have probably already used their cell phones to do so. With the cell phone, you can dictate notes, record video or take still photographs. This post is about improving those still photographs.
The advantages of using your cell phone camera to record damaged part information are
- Always with you
- More than adequate quality
- Easy to use
- Easy to send images to others.
I’m currently using an iPhone 7+ and really appreciate the quality and new features of its camera. I especially like the telephoto (2x) lens. Learn to use the features of your cell phone camera. Here are some tips for getting good images from a cell phone camera without using additional auxiliary equipment:
- Set focus point yourself, don’t rely on the camera autofocus
- Zoom in (use 2x dual lens if available)
- White Balance (color balance for the light source)
- Adjust exposure manually, don’t rely on camera to set exposure
- 2 second delay will help to avoid camera movement.
For more detailed information, especially with the iPhone, check out https://iphonephotographyschool.com/iphone-camera-controls/.
Remember that pictures you take will be used to tell the story of the failure or repair. Be sure to establish the scene with the “big picture”. Include some shots of components or areas before going too far with extreme close-ups or macros. For example, in the report, you’ll want to be able to write things like:
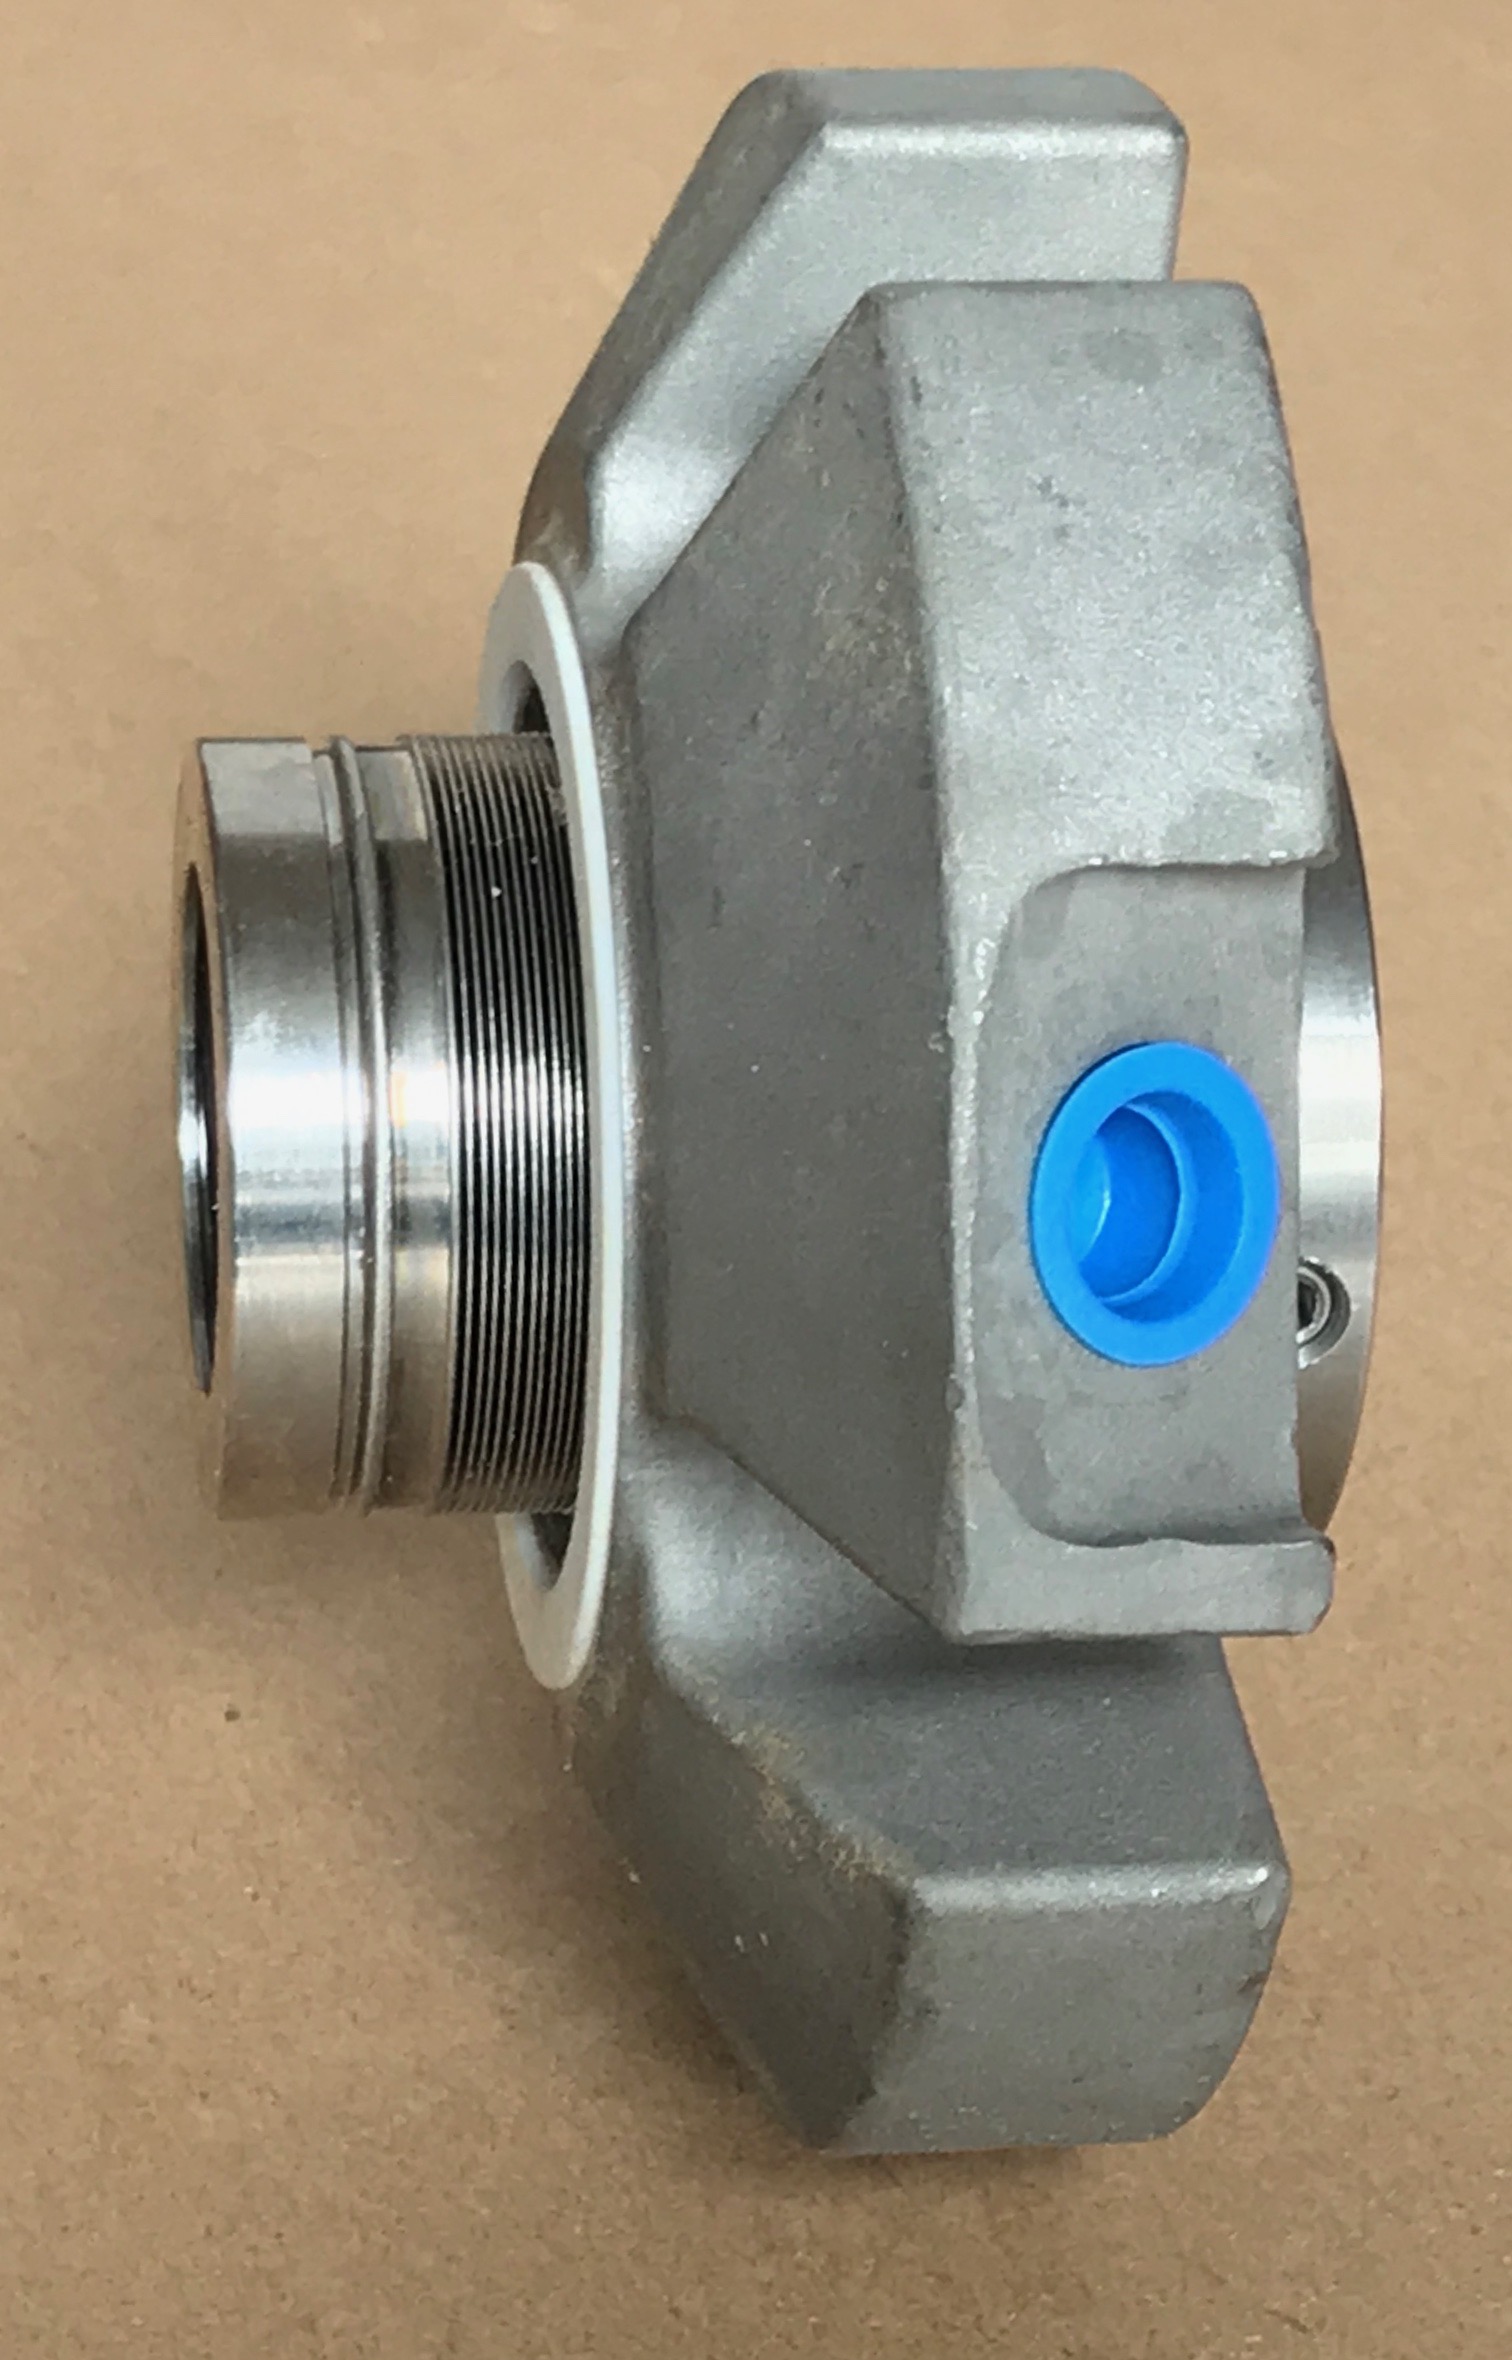
- Here’s the complete cartridge seal when first removed from the pump (the big picture)
- Here’s the retainer (a component)
- Notice the fretting inside the retainer (close-up of damage).
Clean up the background.
Remember the saying “90% of photography is moving furniture!” and apply this thought to removing the junk and clutter from the background of your photo. Use cardboard, shop rags or copy paper for a background or to hide the clutter.
Fill the Frame
Move the camera in close and/or use the dual lens so that the screen is filled with the subject image. This will save editing/cropping time and also produce a better image. By filling the frame, you also allow for extracting a “macro” during editing.
Macros
Although macro lenses are available for cell phone cameras, those will be discussed in the next blog. Most of the necessary documentation photos will not be macros or even close-ups but the camera can be moved very close to the subject to record details. In post processing (editing) you can crop and zoom in for a “macro” image of details.
Don’t use the flash
The cell phone flash will produce hot spots on the image; turn the flash off and try to find good lighting. Indirect light near a door or window can be very helpful. If possible, move the parts outdoors on a cloudy day.
Select the best images
Get many pictures from different angles and distances, then select and use only the best ones.
Coming up
So far, the discussion has not included auxiliary equipment such as tripods, lenses and lighting. Auxiliary equipment will be discussed in the next blog.